Let’s Grow #3: Bag to Tub

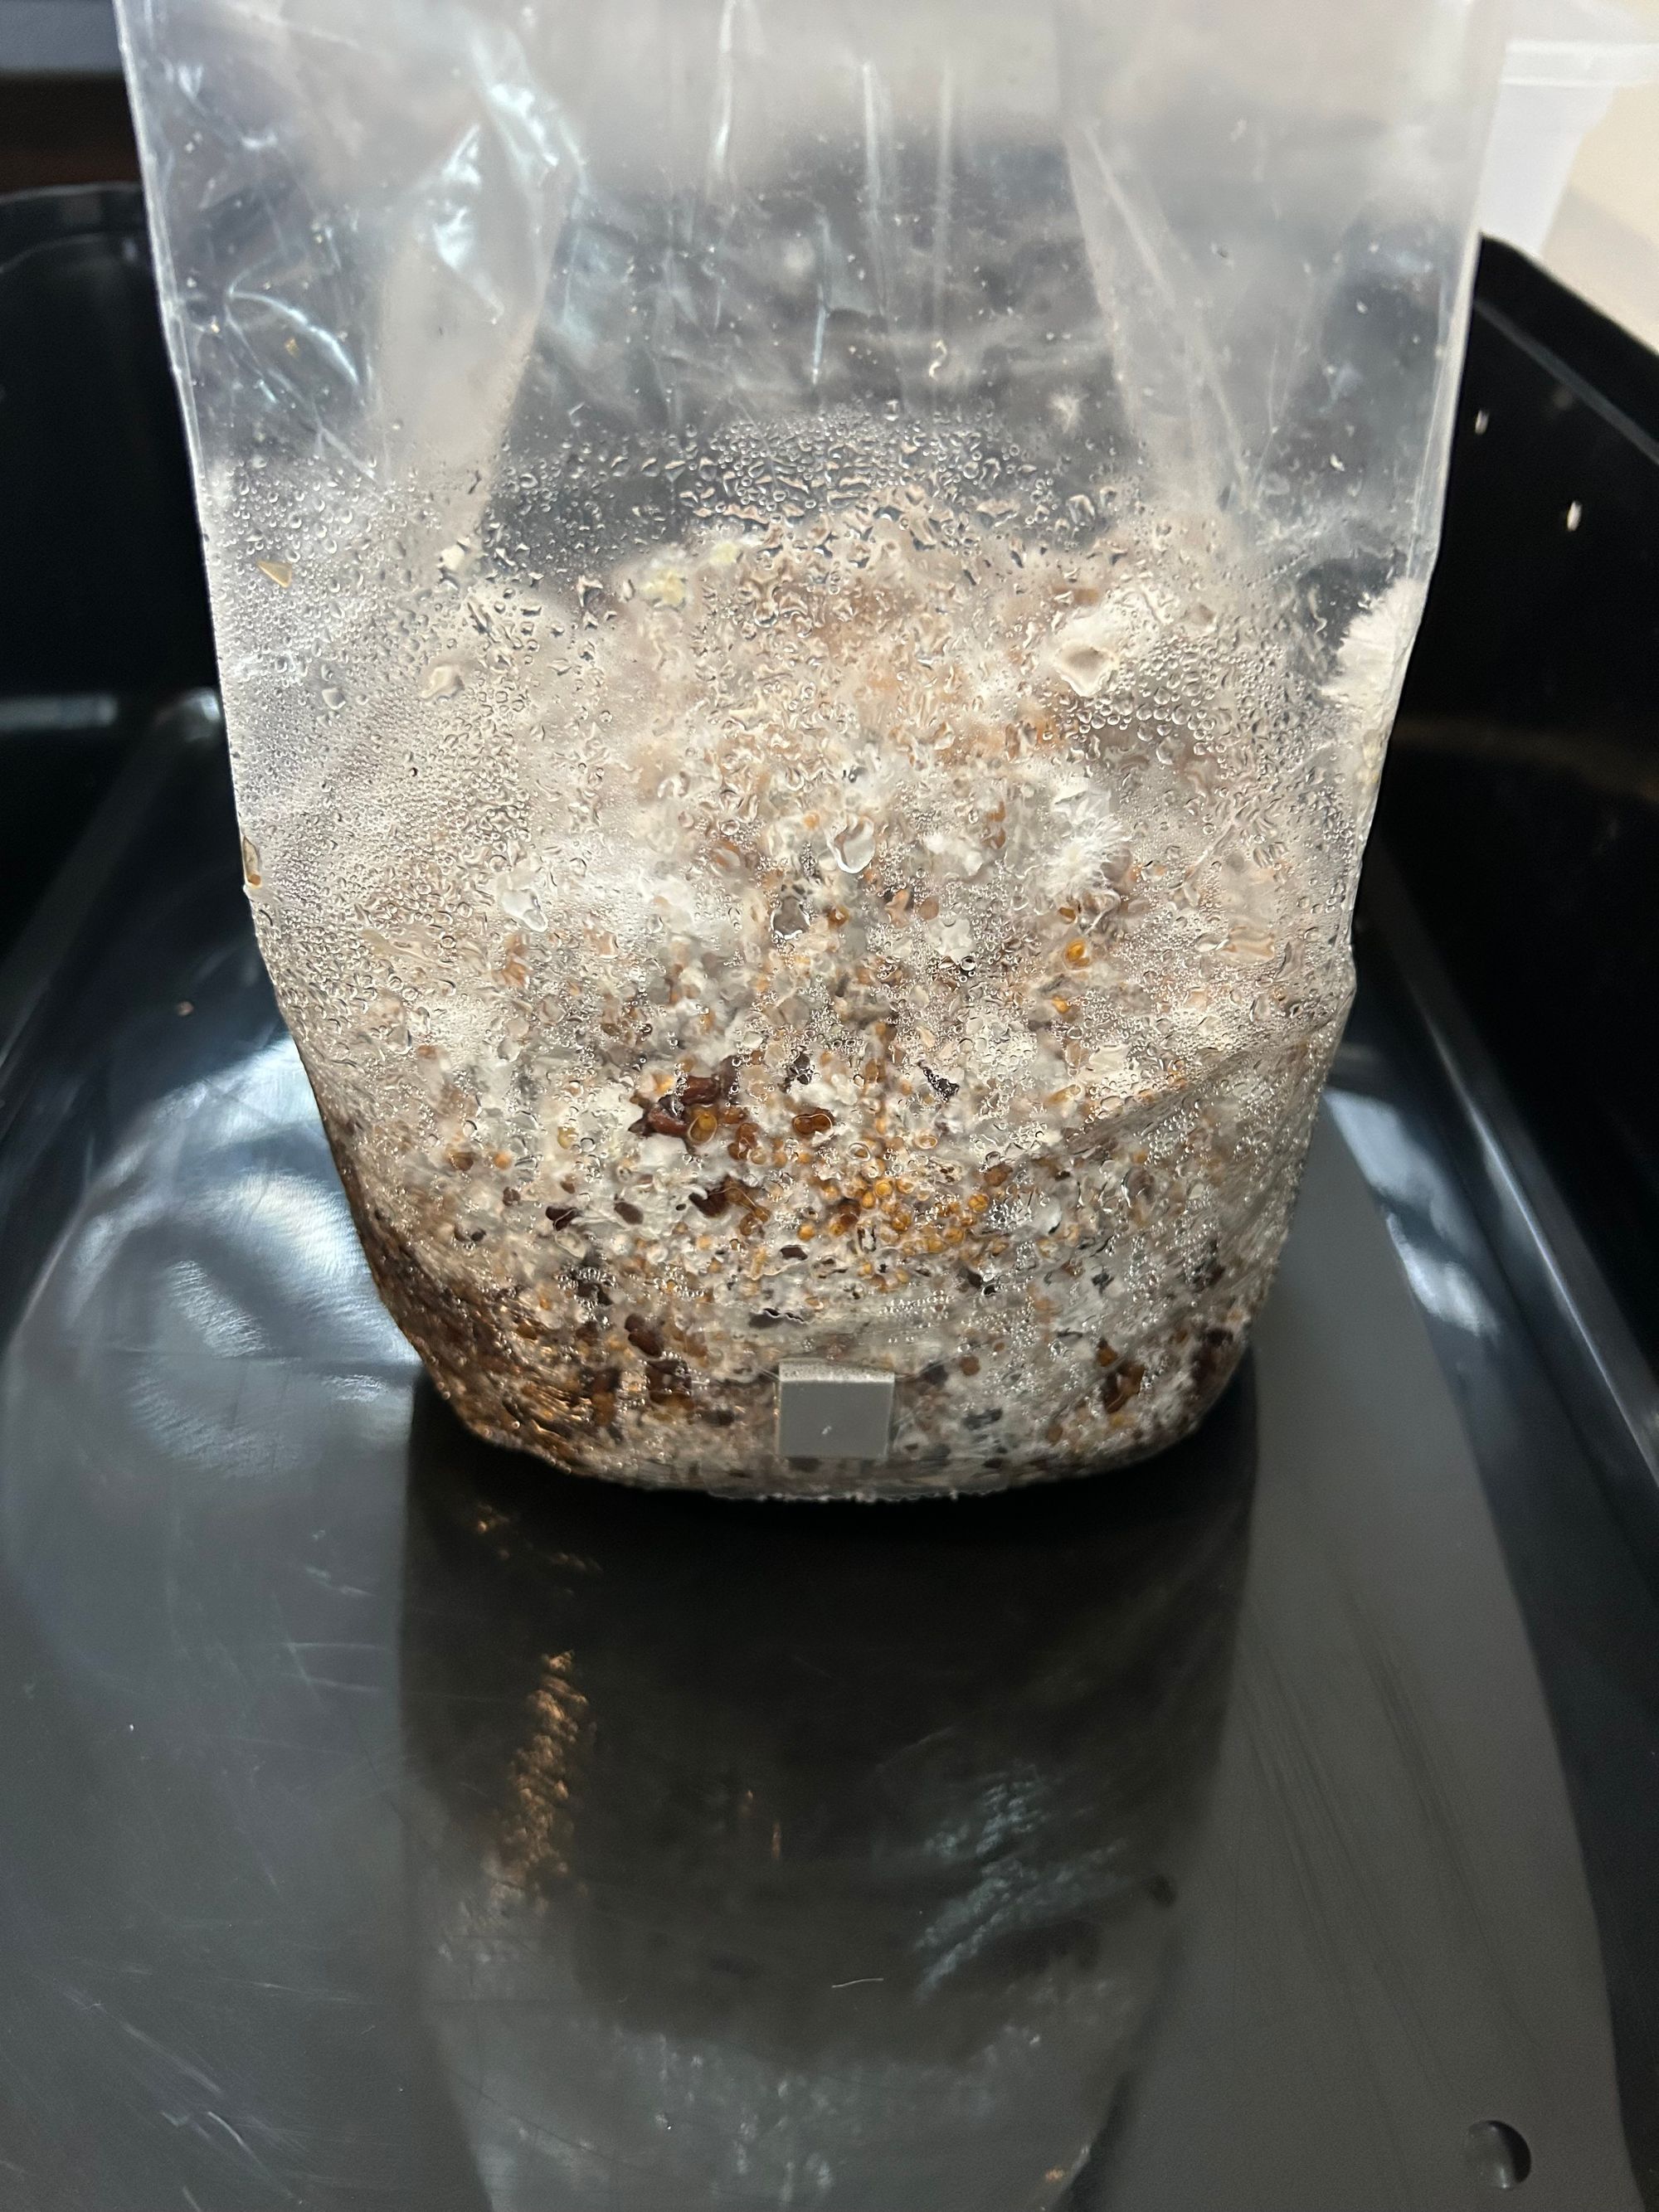
When your bag is about 30% complete (you see 30% white mycelium growth in the bag), break up the bag to help speed colonization.
The beginning 
Here’s more…. 
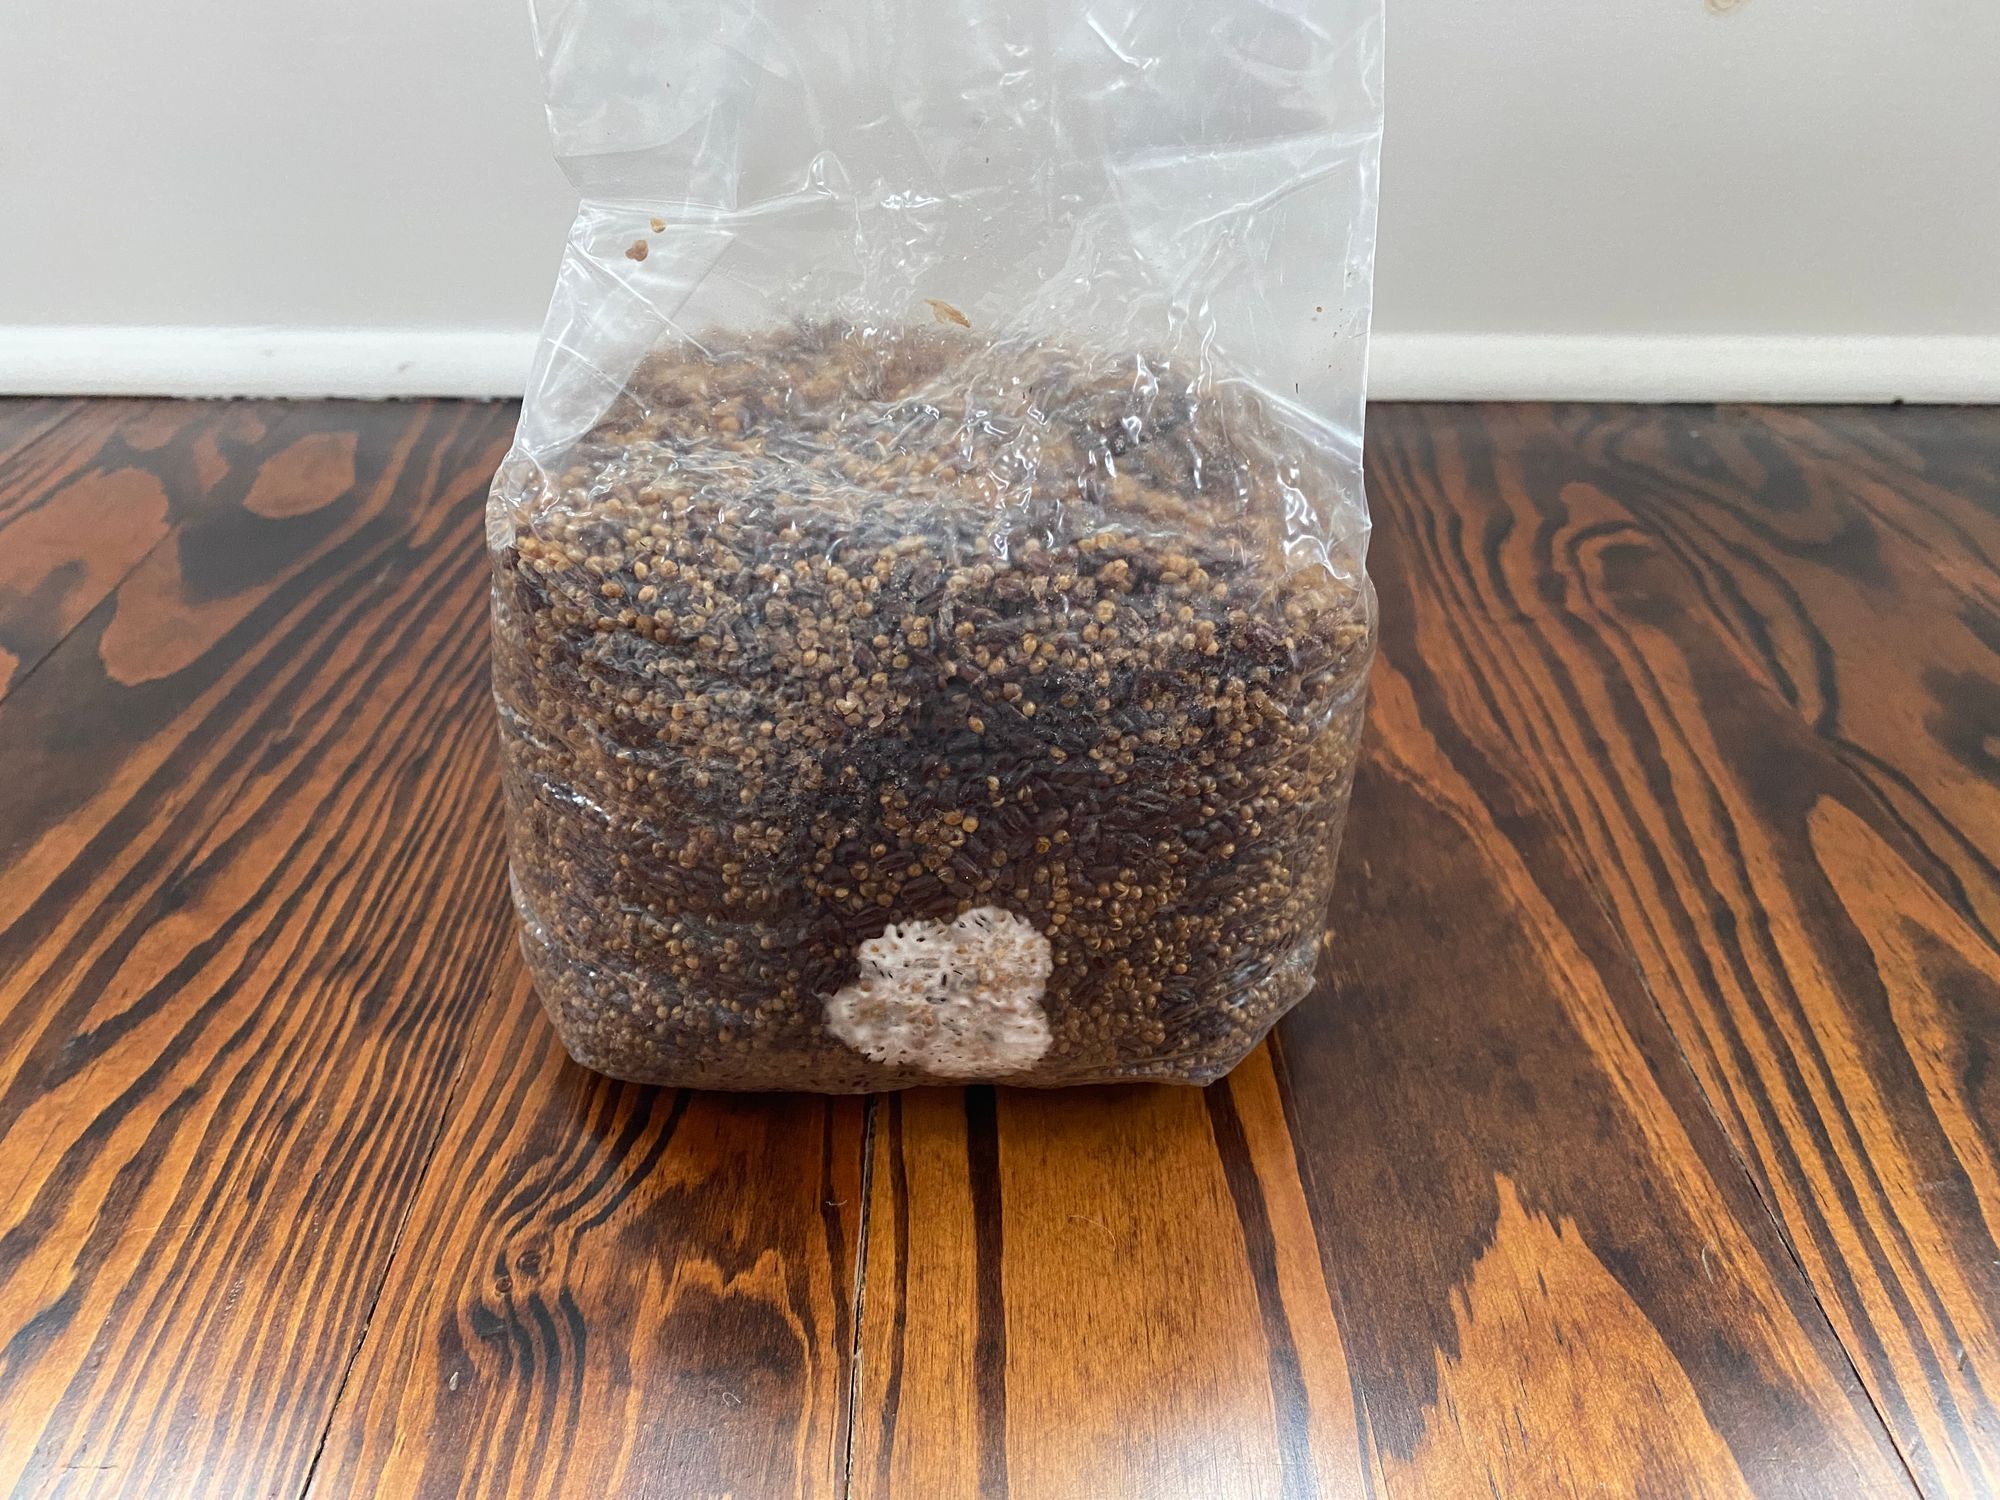
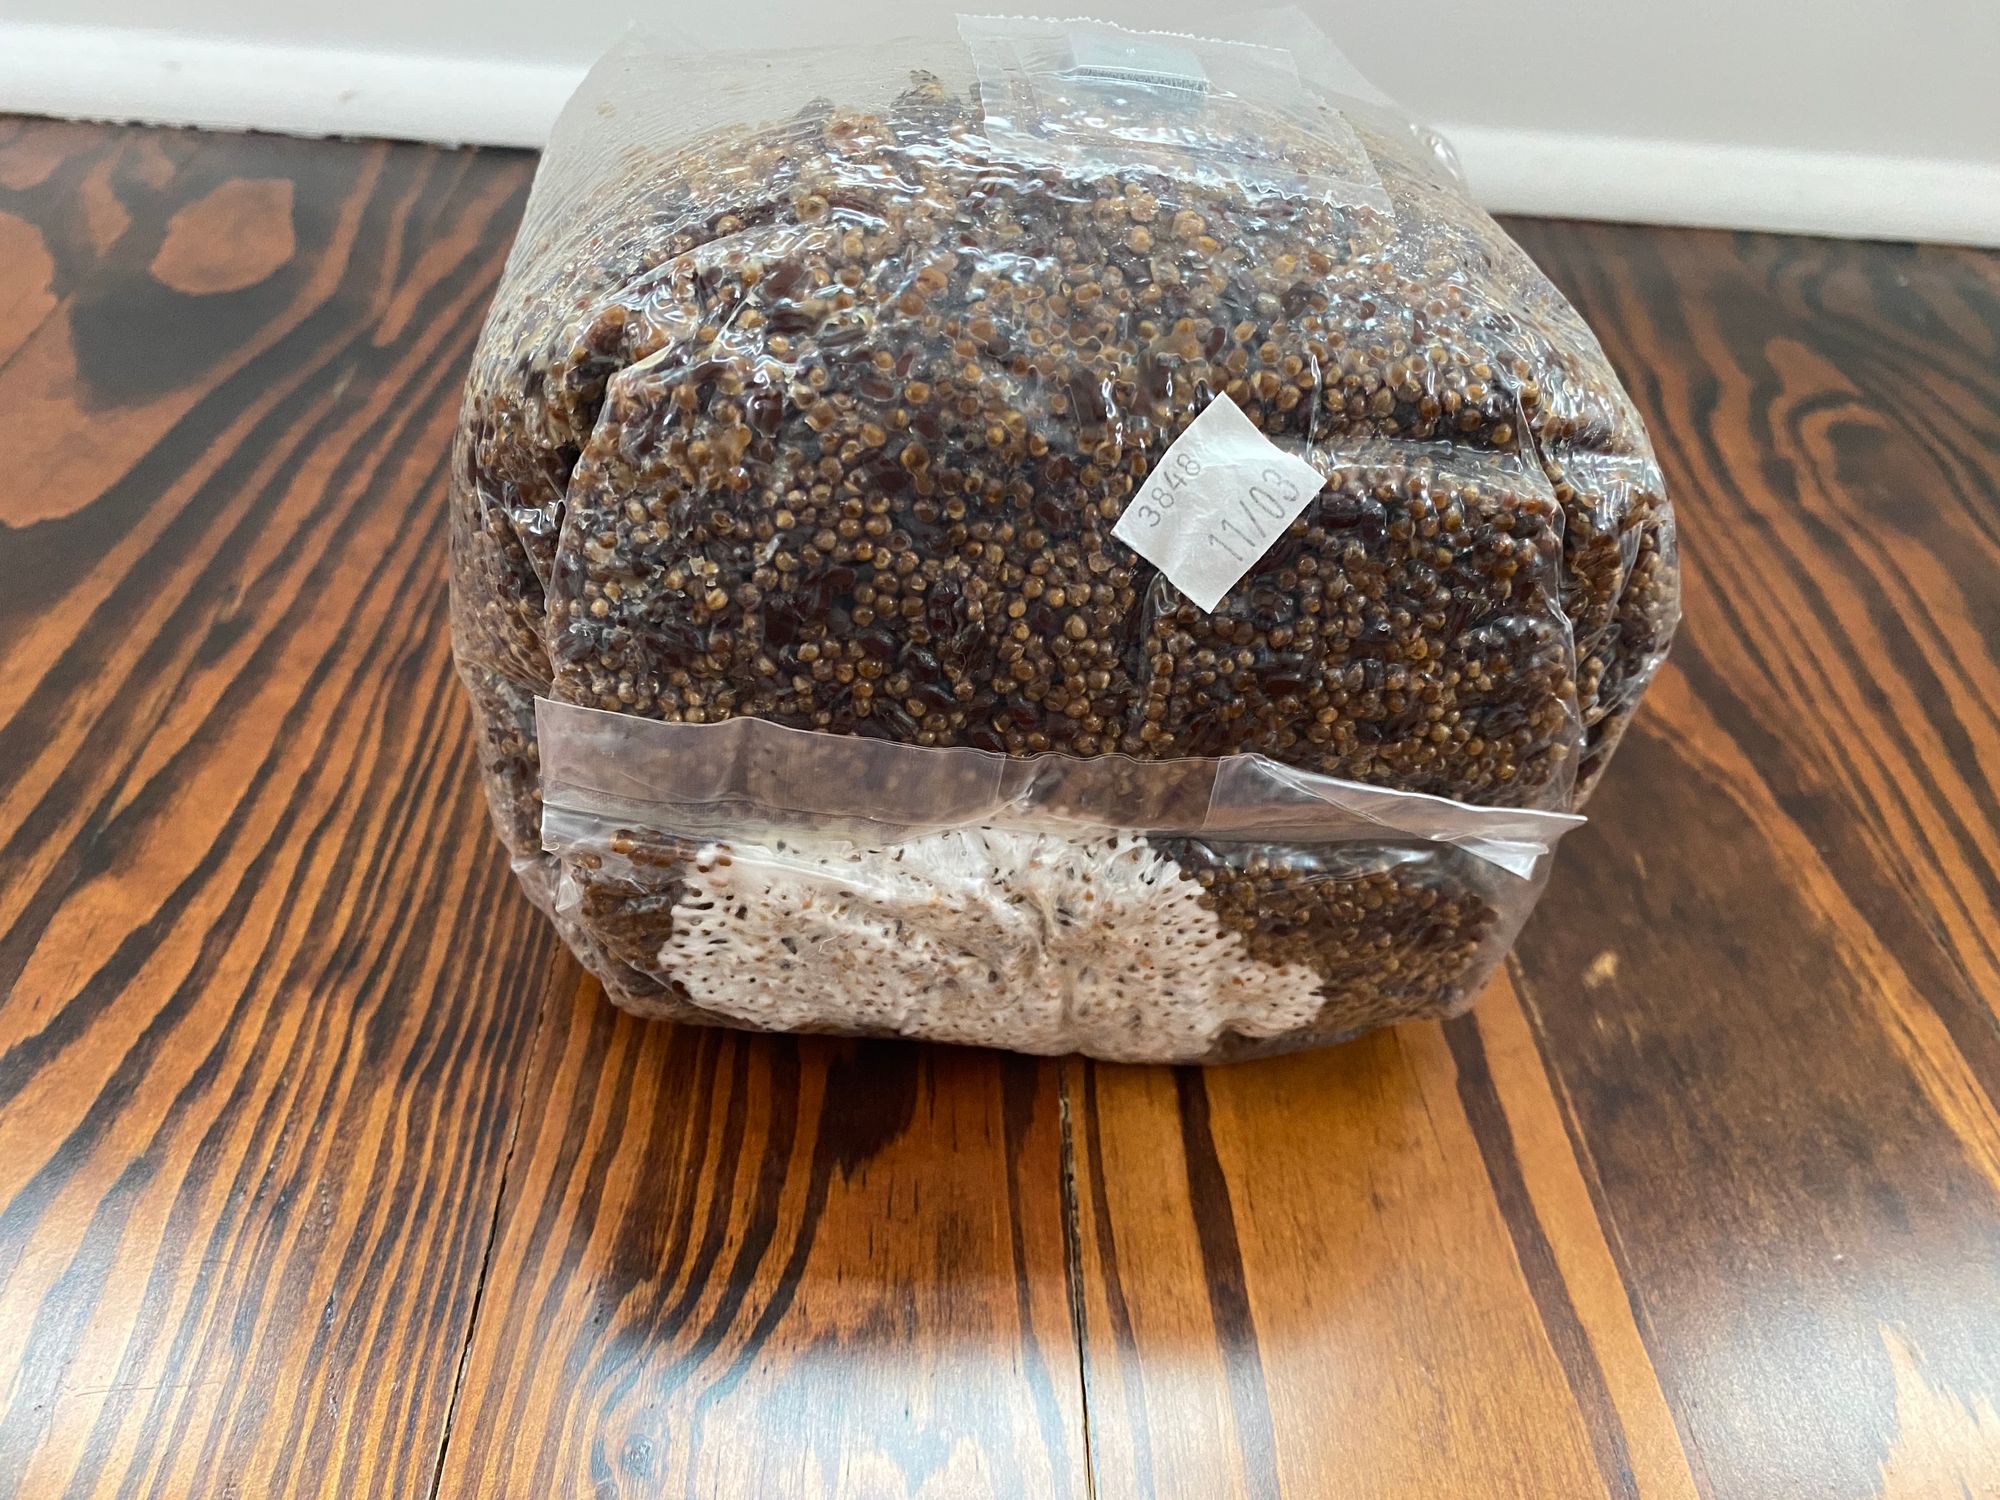
This bag is ready to go! The yellow color is mycelium “pee” – it’s fine. The mycelium needs air. 

To break up the bag, just mush it around until all the grains are fully mixed. The mycelium can be quite hard and may need a little bit of force to break up the bigger chunks. Be careful not to break the bag. I find after breaking up the bag, I see complete colonization in just a few days. Your bag is ready to go to the monotoub (you’ll see people say “send it”) when it’s completely white.

If the bag isn’t fully colonizing an area or there’s anything off color – you might have contamination. If it’s just not colonizing quickly, you can wait and see what happens. However, if you see anything off color (check out the forums and Youtube videos for pics of contamination), it’s best to get rid of it. The saying “when in doubt, throw it out” is true. The stuff that grows in a contaminated bag or jar can make you sick and contaminate your other growing things. Get rid of it. Don’t open it in the house. If you have some need to open it before putting it in the trash, wear a mask.

Filling the Tub

Like inoculation, this is also done in a sterile situation. I use the tiny sterilized bathroom for this one.

  • Close the vents
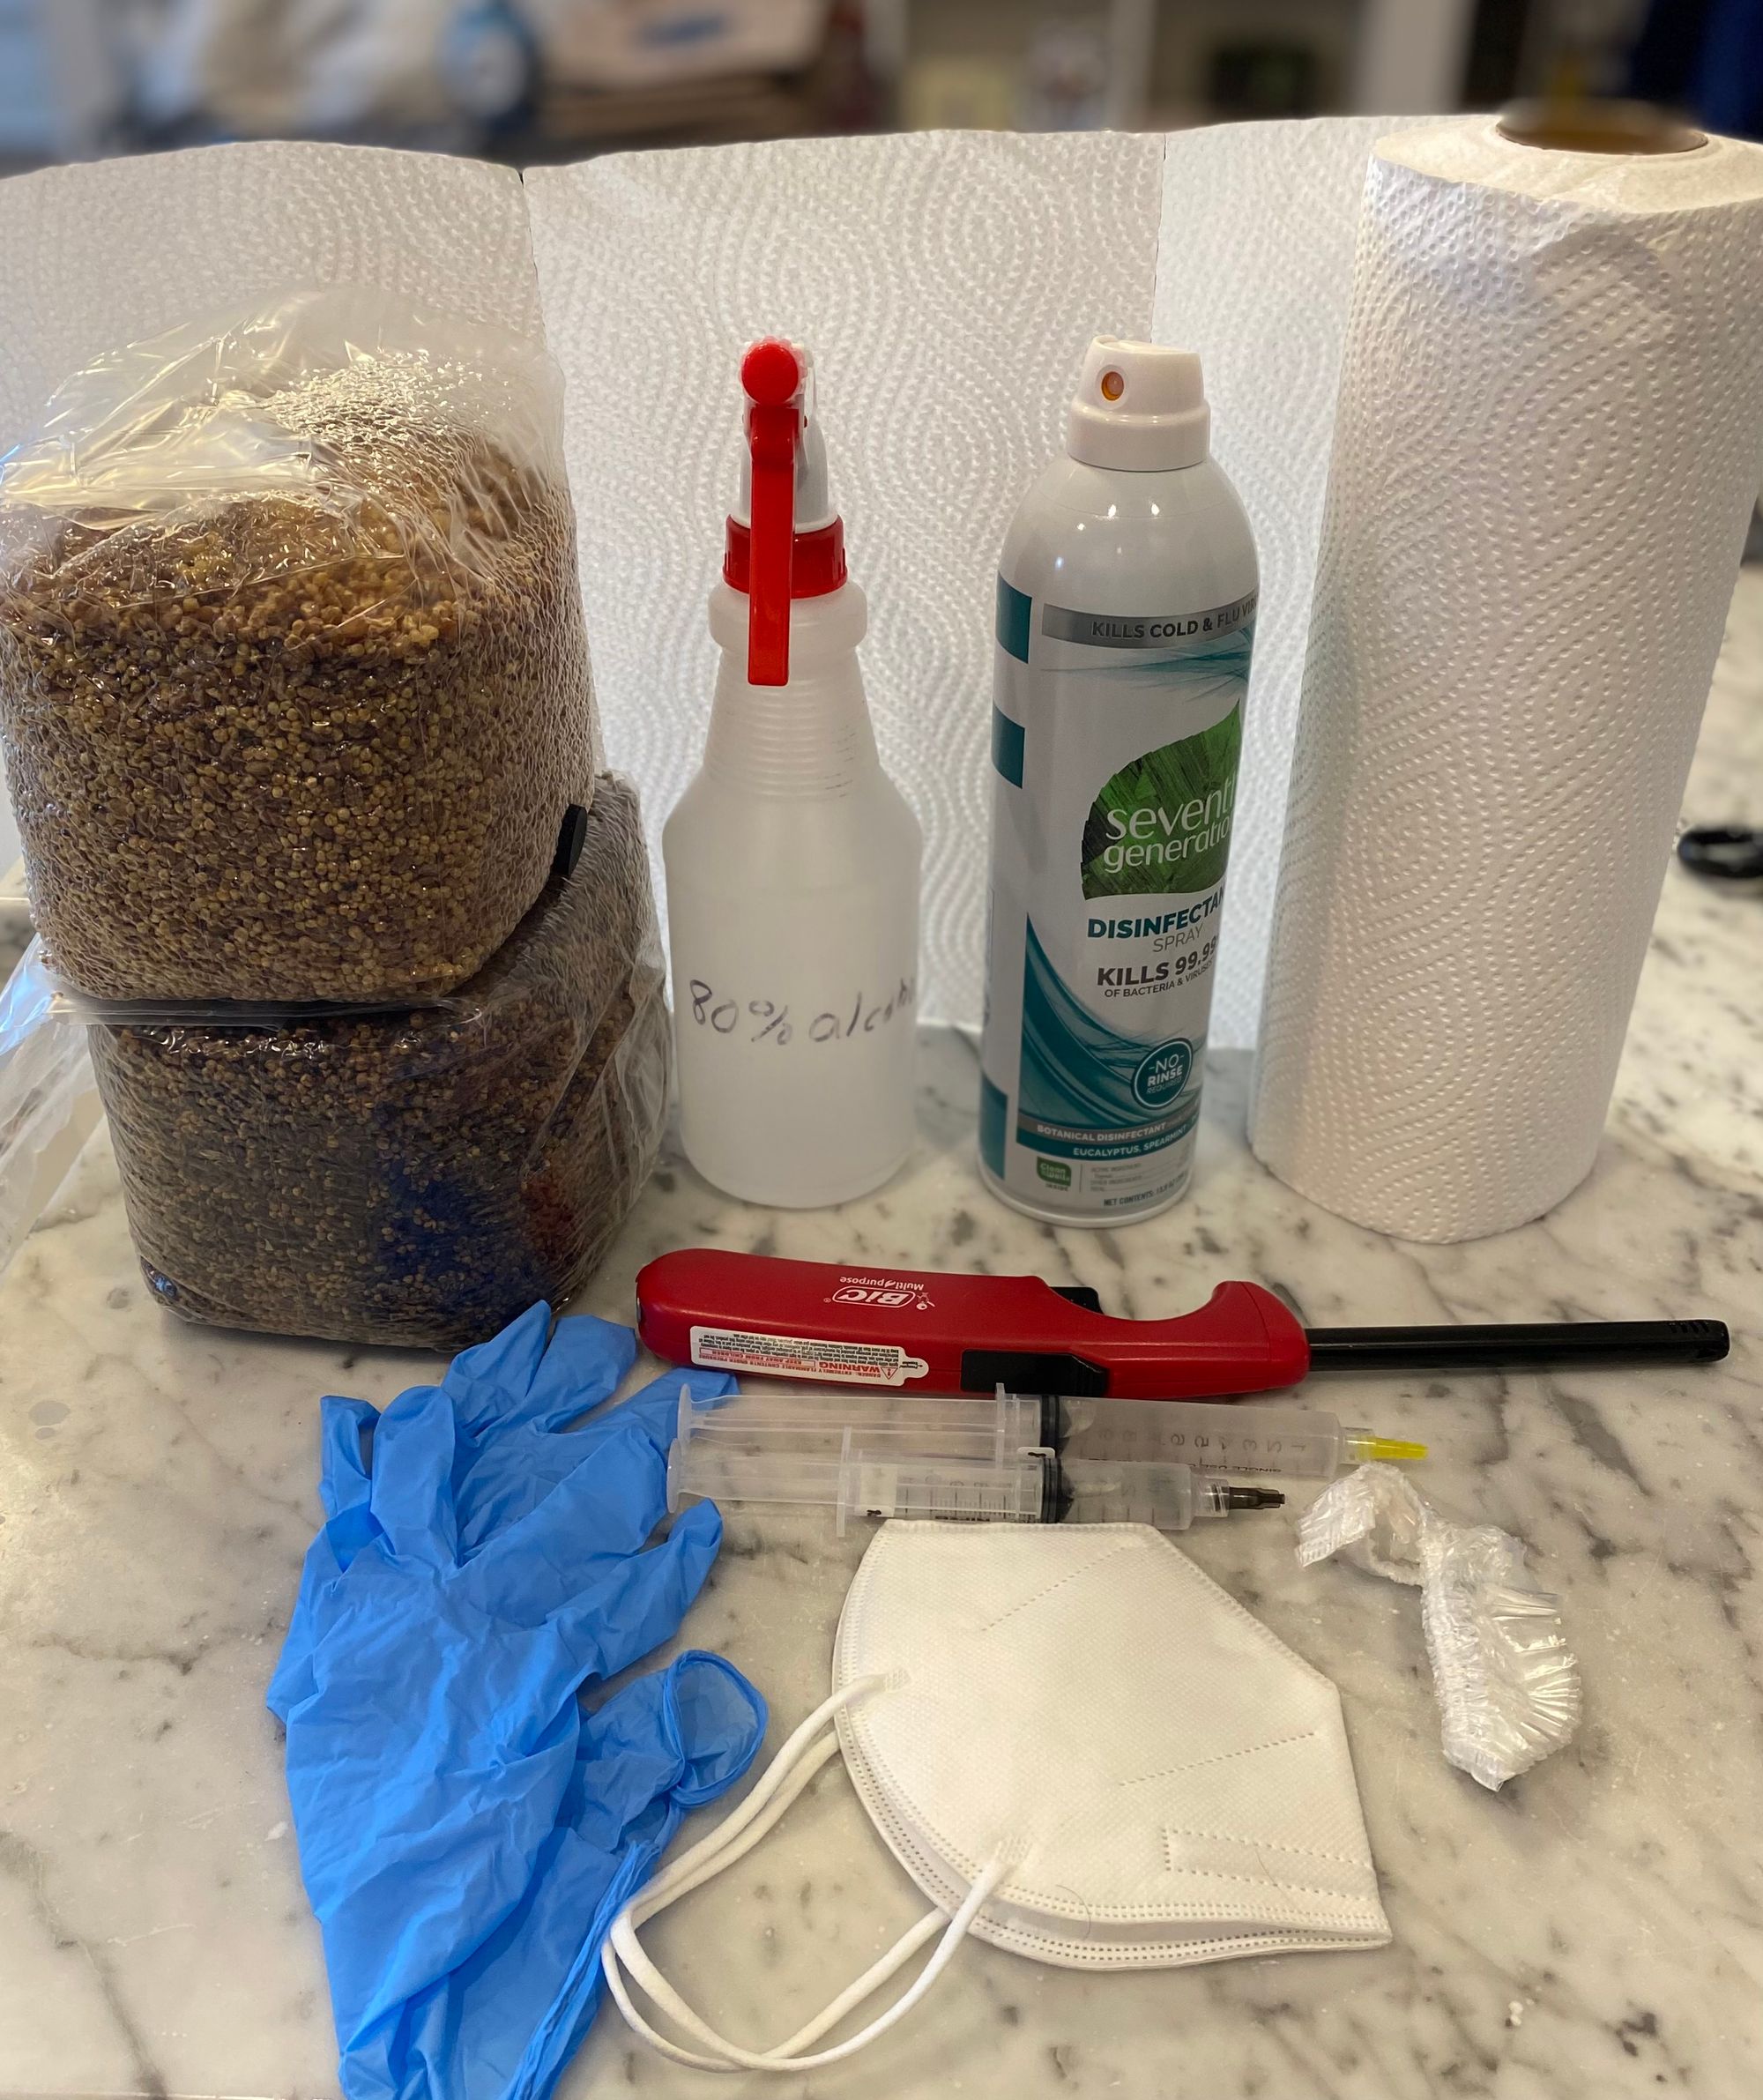
  • Get all your stuff in there (spray bottle with 70% iso, substrate, grain bag, scissors)
  • Get yourself showered and dressed for the occasion (clean clothes, mask, shower cap, gloves)
  • Wipe surfaces down with 70% iso
  • Spray the room germ killing air spray

Ok, now clean all your equipment with iso, let it sit for a minute, and you’re ready to go. I know it smells awful. Luckily this doesn’t take too long. Refer to the MaxYieldBins video for more info on this step. You’re going to make a lasagna with your grain and substrate.

  1. After sterilizing your bin(s), the outside of your grain bag & substrate bags, yourself, and your tools…
  2. Take your sterilized bin, pour in a little substrate, pour a little grain on the substrate, and then cover the grain with substrate.  
  3. Keep alternating grain to substrate until you use it all. The last layer should be substrate, ensure no grain is showing. You have 3lbs of grain and 15lbs of substrate. Use it all in one bin.
  4. You’re done. Put the lid on the bin and get on out of that alcohol-smelling room.
  5. In about 10-15 days the mycelium will fully colonize the substrate. If your temps are too low, it will take longer.
  6. Once you see full colonization, change the painter’s tape to filters (I only do this at the top), I leave painter’s tape on the small holes at the bottom.
I hadn’t put this bin into fruiting conditions, but it fruited anyway. I just changed the tape to filters and everything worked out fine. That’s the new filter, not my finger, on the right. I don’t open the bins unless I have to. 

I did originally worry that the mycelium would detest the alcohol smell but it dissipates after a while and they haven’t seemed to mind.

Ok – so now you have your taped up bin ready to go. Put it somewhere quiet. I cover mine with a towel and wait. 10 days or so and you should be good to go. Some strains take longer. Some are faster. Recently I missed the full colonization point and the tubs started fruiting without me doing anything to help. I looked one day and had pins and small shrooms all over. Whoops. I changed to fruiting conditions and everything worked out fine.

From now on, try not to open your bins for any reason. A lot of my photos are from the outside of the bins. That’s because until it’s time to harvest, I don’t open the bins. I don’t want the mycelium or the growing fruits to have to deal with the outside world. All they need to do is grow and be happy. It’s my understanding that once the tubs are fully colonized, there is little risk of contamination. That may be, but I err on the side of caution.

Next up – what’s the difference between colonization and fruiting conditions, you’ve got pins/shrooms, or you don’t. What next?
Let’s Grow #2 – Inoculation

Let’s inoculate the grain bag! The goal is to inoculate in the cleanest, stillest area available so nothing gets into that bag except what you intend to put in there. Spores and contamination are all around you – in the air, in your hair, on your clothes – just everywhere – so do your absolute best to be as clean as possible.

There’s a ton of debate on which inoculation method is the most effective but I don’t have a laminar flow hood (where are you going to store that thing?) and I don’t want to make a still air box (see previous post), so I did oven tek, and it worked fine. I close all the doors to the kitchen (the kitchen is closed), turn off the vents, take a shower and put on clean clothes, don my shower cap, gloves, and mask, use a lot of alcohol, and so far so good. I’ve also inoculated in a small, sealed up bathroom, and that worked fine as well.

<<Tip>> You really can’t use too much alcohol.

Also – spray something to kill airborne contaminants (I use 7th Generation’s disinfectant spray). If you are doing oven tek, make sure to spray the disinfectant way in advance of using the oven. Don’t make poor choices.

Some hints – shake the syringe before inoculation so the spores get distributed well.  If the syringe gets clogged while injecting, shake a little more. It will generally get loosened up. Remember – if you take the needle out of the bag, sterilize it again before you put it back in the bag.

Use 5ml to your 3lb grain bag (probably half a syringe). Shoot it in and down, or around.

Once you’re done, put your pregnant bag(s) some where quiet and cool  (75-80 F) – and wait. If the temp is higher, you risk contamination. If it’s lower, growth will be slower. I usually see some action around 8 days in.

Cheers to you. Next up, we’ll talk about when to break up the bag, and where to get some advice while you wait for that bag to colonize.

Let’s Grow! #1 – Equipment

Simple set ups tend to work the best. You’ll read this a lot and it’s 100% true.

Feel free to use your own variations of equipment, make your own grain bags and substrate, whatever floats your boat. I’m not very handy and I don’t like to do things in the kitchen so I buy a lot of things that you could DIY to save money.

Equipment list

Monotub. I use these. Yes, they are expensive for plastic bins. But they work great and they are ready to go. If you want to DIY, you’ll see all these videos about drilling holes without cracking plastic tubs and melting holes with hot screwdrivers and well – I’m not doing that. I bought my bins. How many bins do you need anyway? Two bins is all I can manage. One is really enough.

Grain bag and substrate. Your ratio is 1lb grain to 3lbs sterilized substrate so that’s 1 of these to 3 of these. Cubensis mushrooms, which is the type you’re probably going to grow, prefer manure-ish substrate.

Filters. I buy these. You can also use micropore tape on the big holes, just make sure you fully cover them.  

Micropore tape. Make sure it breathes.

Painter’s tape. It’s easy to remove.

Gloves, mask, shower cap for your head. Don’t mess around with hygiene. Just don’t. Contamination will break your heart.

Alcohol – 70% max. Anything higher evaporates too fast.

Spores  – there are several vendors listed on Shoomery. I have not ventured into cloning, spore prints, agar, any of that. Maybe later, but for now, I just buy spores.

The Tek

Watch this video, and do everything this super happy lady says. Seriously. This video, plus a few details, will make it work.

What you don’t need for this tek

Casing layer. Lot of folks use a top layer of coir. I don’t. The lady on the video even says you don’t need it with our tubs. It probably won’t hurt anything though, and I do have a bag of it I’ll try sometime.

Humidifier. You don’t need this either. Occasionally after the first flush, I’ll do a little spray and fan. Generally not, though.

Grow lights. Nope. You don’t need them. Mushrooms don’t need light to grow. From what I understand, they do grow toward the light – so in the fruiting stage it’s good to have them near a light source so they grow in the right direction.

Pressure cooker. Those things are scary. You don’t need to sterilize anything when you just buy it ready to go.

Grow kits. Those things are generally chock full of things you don’t need.

<<Jargon alert>>

There’s a lot of terminology and acronyms on mushroom sites. Here’s a glossary to help. Here’s another one.

Next post – we’ll discuss how that happy video lady got the full spawn bag, and how to get your own.

Mushrooms are easy, but slightly demanding

I’ve started this blog because I really enjoy growing mushrooms. There are a lot of people who know a lot more about growing mushrooms than I do, and most of them have opinions. I’m sharing what I’ve learned so far, and what I’m learning as I go. Shrooms and me, and maybe you too – we’re on a journey. There is so much wisdom and wonder packed into this wonderful medicine. Give them the best place to grow, and they will give you the best grow in return.

PF Tek is not your friend

When I first started looking into growing mushrooms, my research pointed me to PF Tek (brown rice flour cakes, mason jars, perlite, etc.). I tried it twice, I got a few shrooms each time. A few. And it was a pain in the butt. Don’t waste your time. I think they inflict this on beginners to filter people out of the hobby.

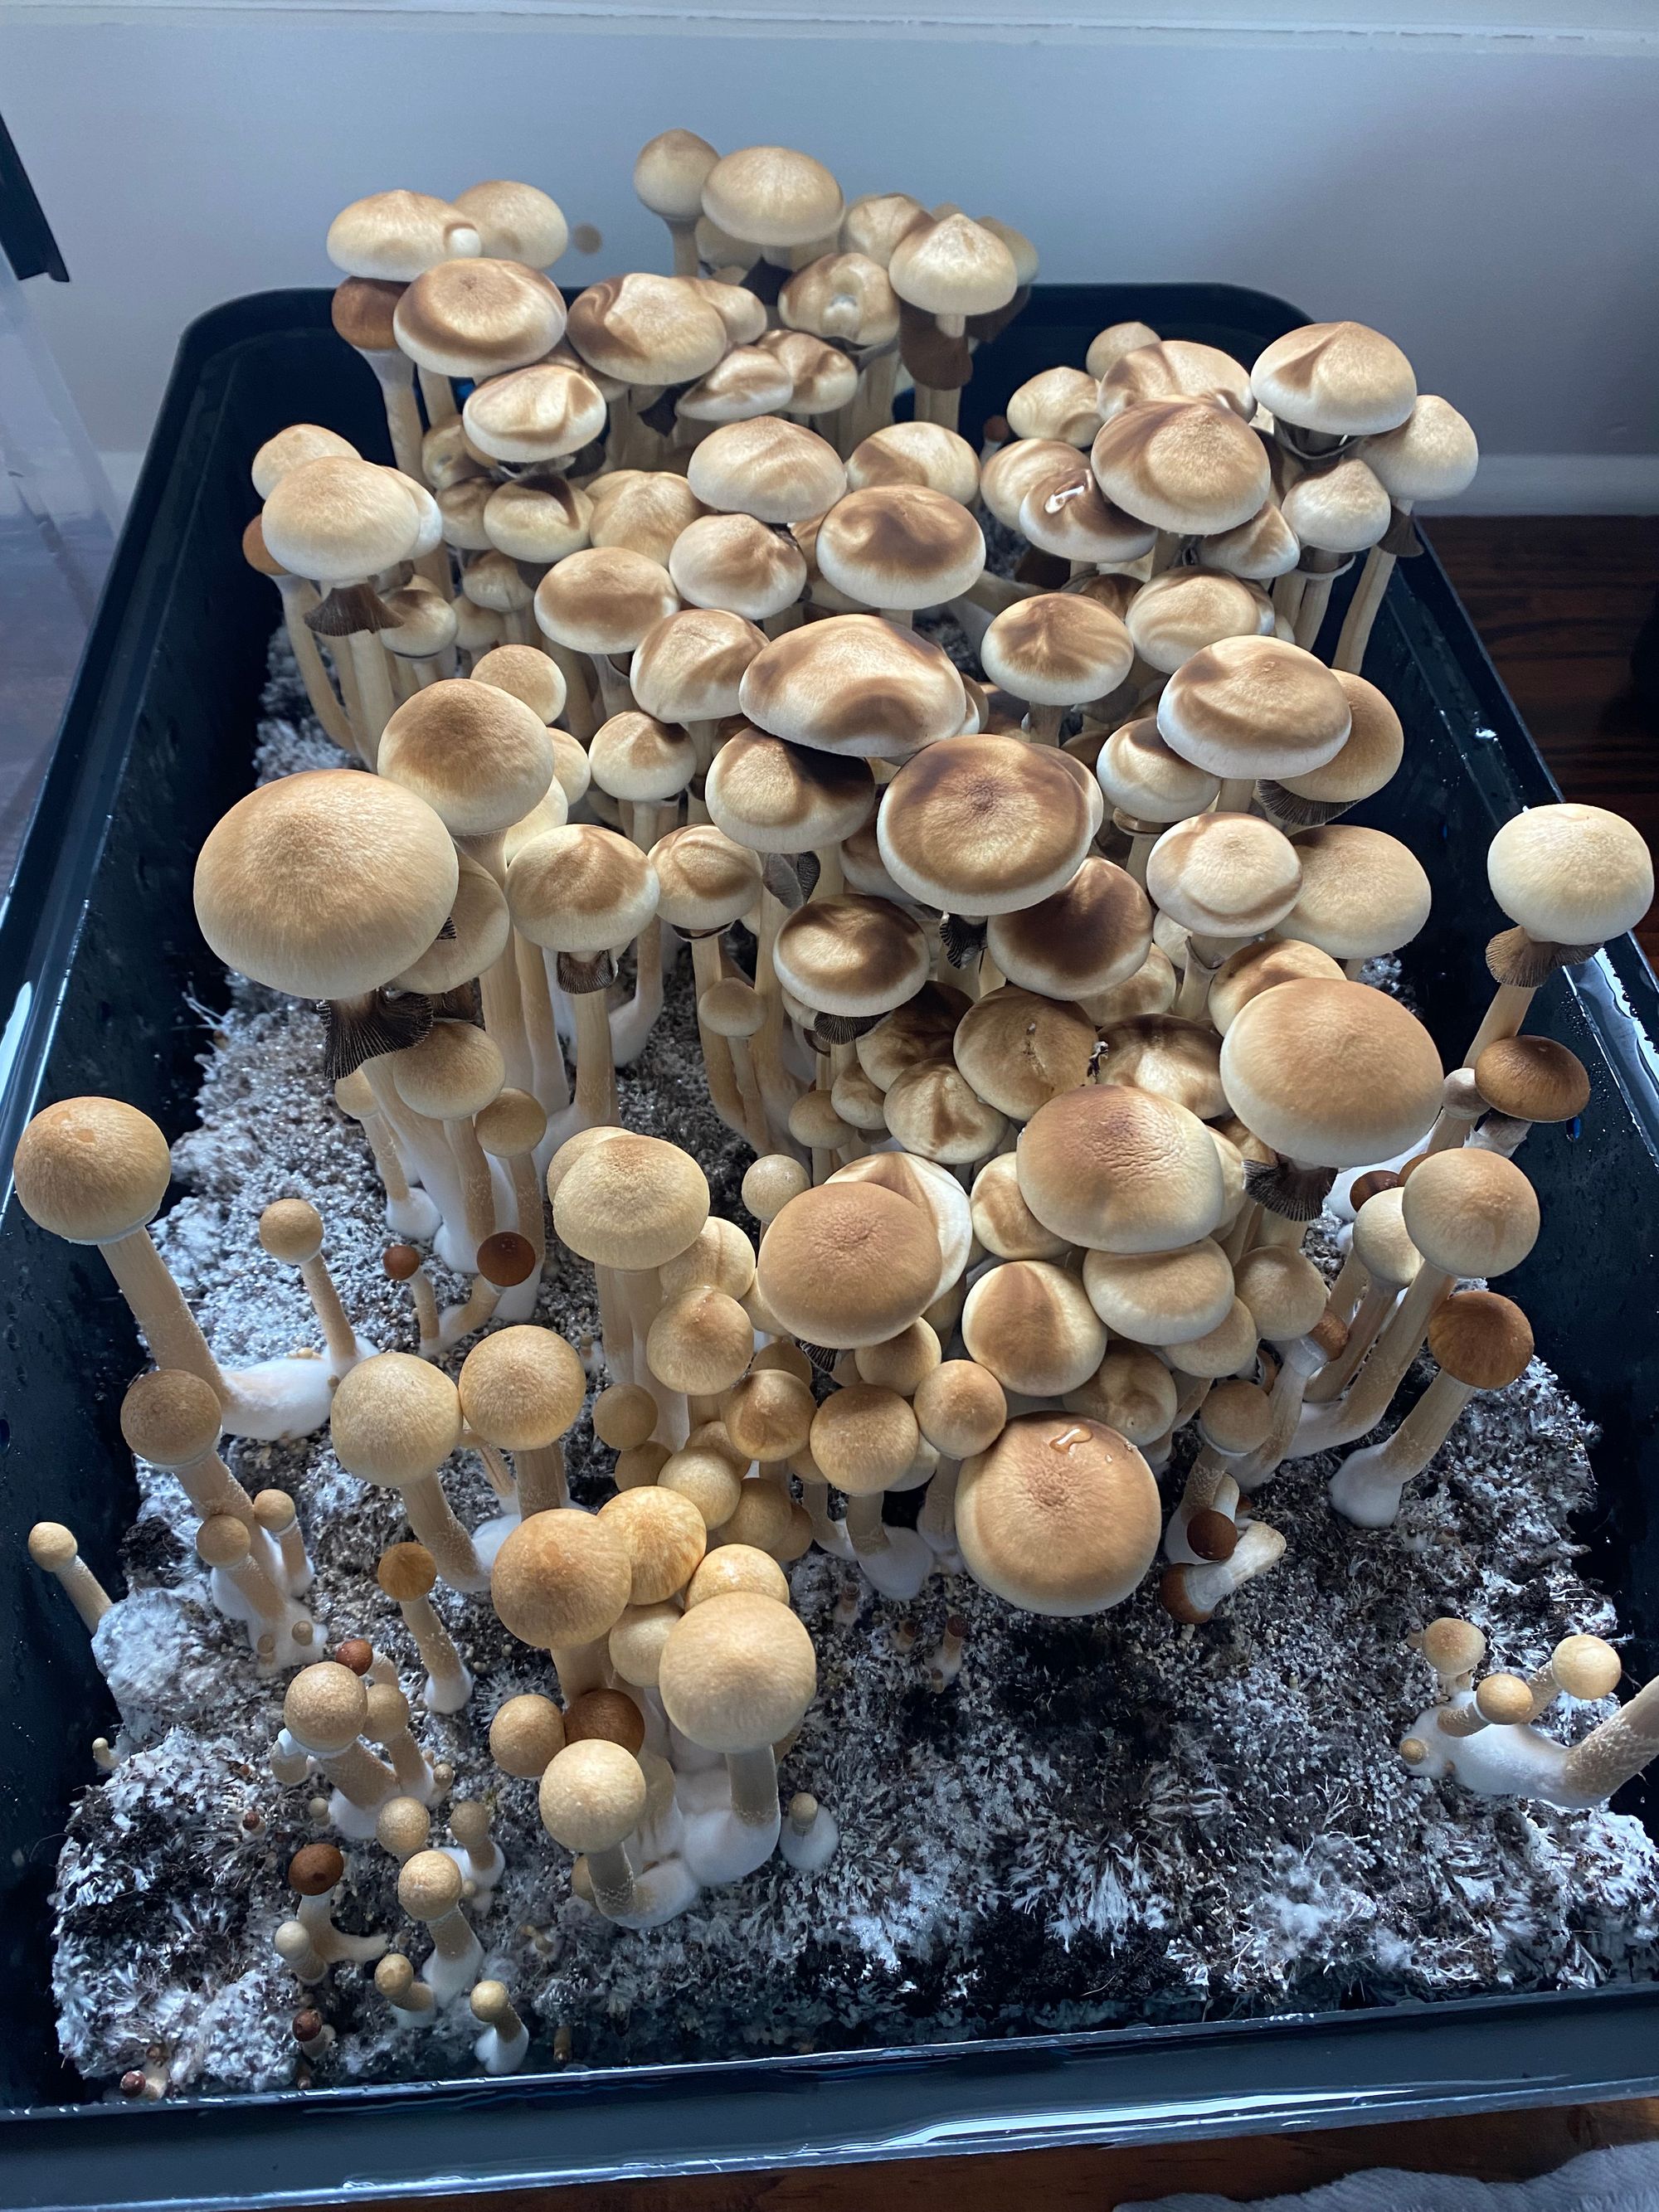
Instead, do a monotub. Those beautiful canopies you see people post  – that’s a monotub. They are totally achievable and you’ll get several flushes with absolutely no problem if you follow simple directions. Really.

You don’t need a grow kit

Also not your friend? Grow kits. I do recommend buying some parts of the process ready-made. If you’re strapped for cash or you’re handy and you want to DIY on some of the parts of the process I pay for – by all means go for it. Experiment, have fun. This is an enjoyable hobby. Undoubtably, you’ll screw some things up. I did. Don’t worry about it. Don’t let it get you down. Move on.

You do need to be maniacally sanitary

We’ll talk more about this in the how-to guide (or the “how I do” guide). Don’t cut corners on hygiene. It’s heart breaking to put time and effort into a project and see contamination at any stage. When you see contamination, your grow is probably over.

You’re going to need a lot of friends

I love the growing process, so much so that I’ve run out of friends to give my mushrooms to. Get ready to get some more friends, make some blue honey, learn all about vacuum sealing to prep for the end of times, whatever. You’re going to have a lot of shrooms. Just wait.